What is a step and repeat?
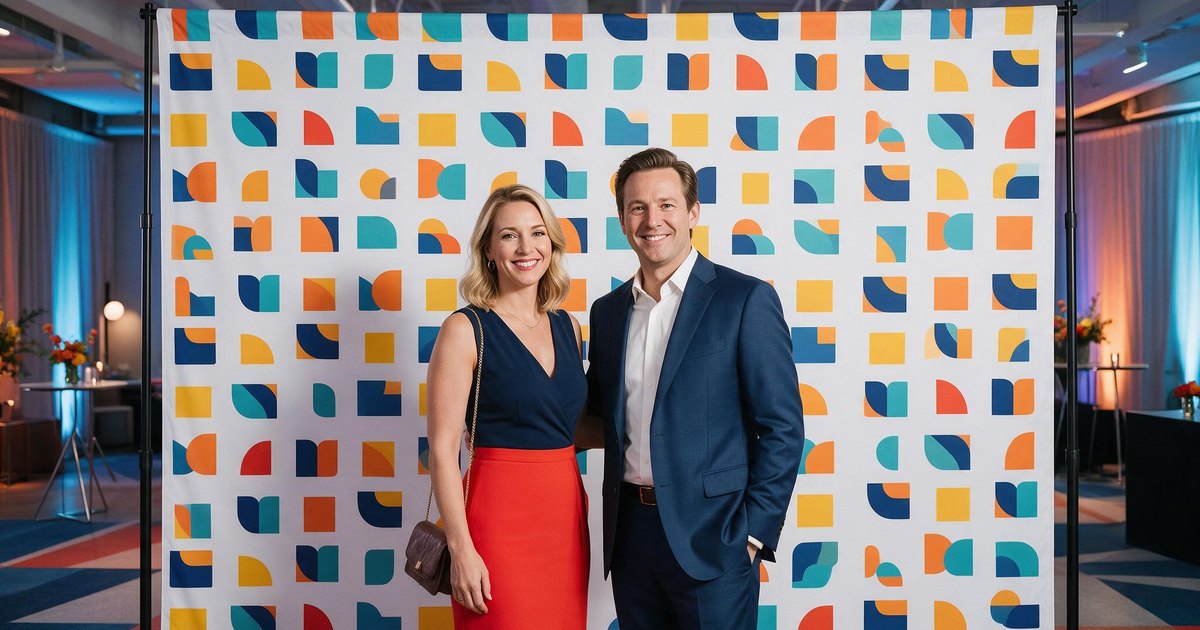
The name describes what the guests do, not what the printer does. A person steps into position, poses, and the next person repeats the process. Because the logo is printed as a grid, rather than once in the middle, the brand stays in frame regardless of where anyone stands.
That grid is the whole point. A single centered logo disappears the moment someone stands in front of it, or the photo is cropped to a headshot. A repeating pattern cannot be blocked by one person.
What it does for the photographs
A step and repeat replaces a cluttered venue background with a clean, high-contrast surface. For press and social coverage, that means every image leaving your event carries the same branding, whether it was shot by a hired photographer or just a guest with a phone.
Organizers usually call it a press wall when it is used for interviews and media arrivals. Same product but different job.
Why they earn their place at an event
An event backdrop is one of the few pieces of print that keeps working after the event ends. The photographs get posted, published and reshared for months, and every one of them carries the repeating pattern of logos behind the subject.
That gives you three things a banner on a wall does not. Sponsors get measurable exposure in press and social images, which makes step and repeat one of the easier assets to sell into a sponsorship package. Your event photography comes back visually consistent, whether it was shot by a hired photographer at red carpet events or by a guest on a phone. And a well built photo backdrop is reusable, so the cost spreads across every event you take it to.
Where they get used
The same backdrop does a different job at each of these, which is worth knowing before you brief it alongside the rest of your event signage.
| Event type | What the backdrop is doing |
| Corporate gala | Sponsor visibility in guest and press photos |
| Product launch | Consistent branding in media and influencer coverage |
| Trade show | Giving the booth a defined interview and a demo space |
| Press conference | Keeping the brand in frame on broadcast and stills |
Step and repeat banner sizes
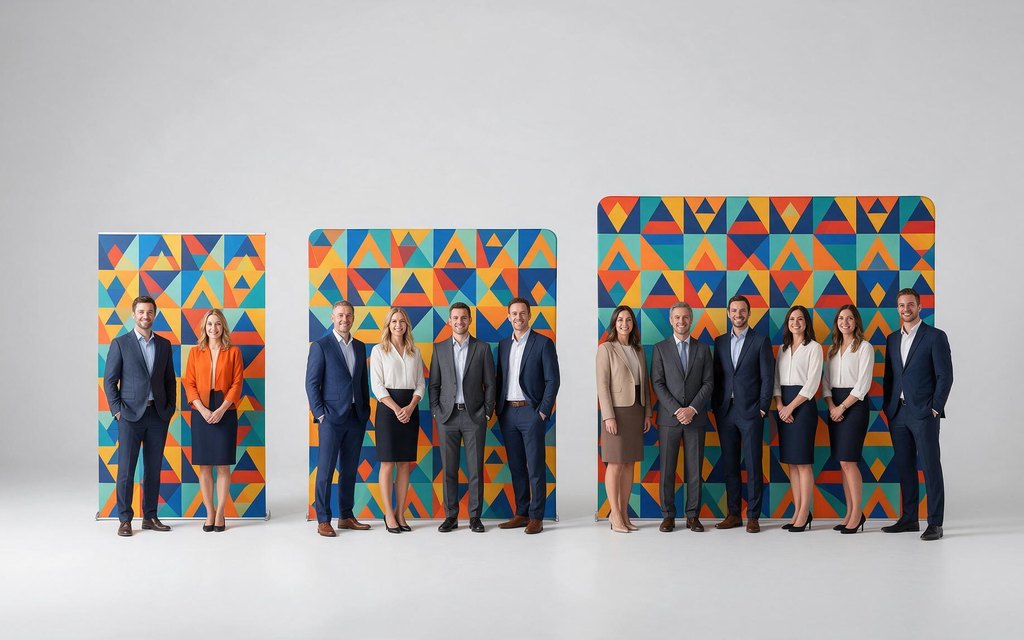
Step and repeat sizes are a function of how many people stand in the shot at once. Work backwards from that, then check it against your floor space.
| Size | Fits comfortably | Typical use |
| 8′ x 8′ | 2 to 4 people | Solo portraits, couples, tighter indoor venues |
| 10′ x 8′ | 3 to 5 people | The general purpose choice, for mixed events |
| 12′ x 8′ | 4 to 6 people | Group photos, sponsor walls, busier arrivals |
The 8′ x 8′ is the most common size and the safest default. It holds a clean pattern behind one or two people without dominating a smaller room.
Bump it up to a 10′ or 12′ width when you expect groups. It’s not just about fitting more people in. It gives the photographer margin to frame the group without the edge of the banner appearing in the shot, which is what makes a backdrop look small in photos.
Two practical checks before you commit to a size:
- Measure the depth of the room, not just the wall. A photographer needs to stand back far enough to fit the full width in frame. A 12′ banner in a corridor is wasted.
- Check the ceiling height. Most step and repeats stand around 8′ tall. Low ceilings, ducting and sprinkler heads decide this for you more often than people expect.
Logo size, background color and repeat spacing
This is where most step and repeats go wrong, and it is not usually the printing.
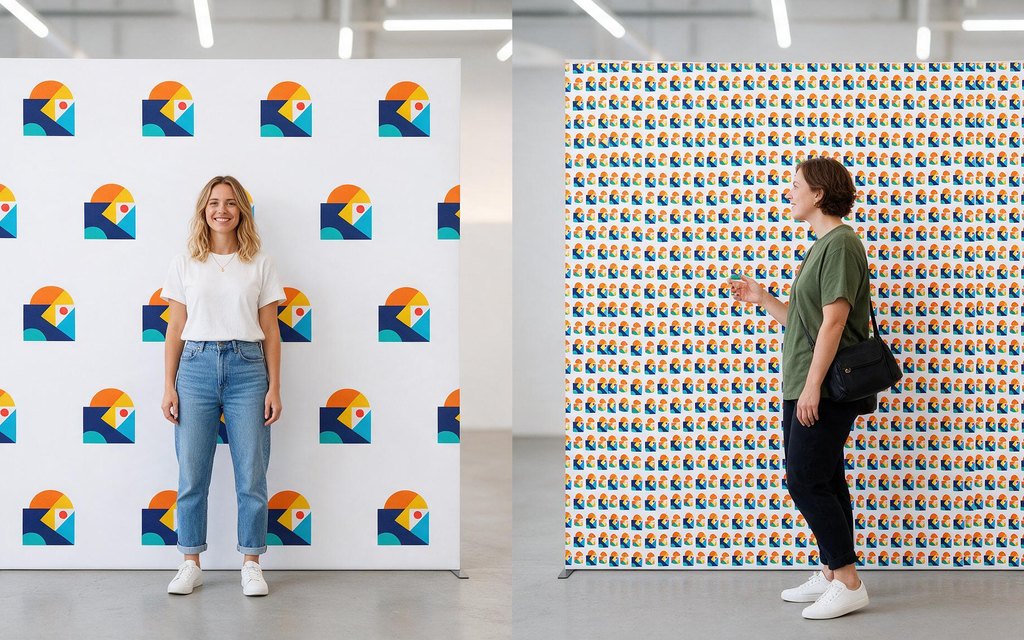
Make the logos big enough to survive a crop. Photographers crop tight on faces. If your repeated logo is small, it either falls outside the crop entirely or lands in it too small to read. A logo that reads clearly from across the room is roughly the right scale.
Give the pattern room to breathe. Consistent horizontal and vertical gaps keep the design legible. Logos crammed edge to edge read as texture rather than branding, and they look busy behind a person.
Use high contrast. Your background color has to separate your logo cleanly under a direct flash. A mid gray logo on a dark navy field looks refined on your monitor and disappears at the event. Test it by viewing your artwork at a small size on screen. If you cannot read it there, a camera will not either.
Stagger the rows if you have one dominant mark. Offsetting alternate rows keeps a full logo visible between heads and shoulders, rather than lining up gaps in a column.
If you are running sponsor logos alongside your own, decide the hierarchy before you lay out the grid. Equal sizing reads as equal billing, which is a conversation worth having with sponsors in advance rather than after the banner is printed.
Fabric or matte vinyl
The material your step and repeat backdrop is printed on shows up in the photographs more than any other choice you make.
Fabric absorbs light instead of bouncing it back. Under a direct camera flash that is the difference between a clean backdrop and a white hotspot across your logo. It hangs with a soft finish, packs down small, and is the usual pick for indoor galas and premieres.
Matte vinyl is the more durable option and the one to reach for when the banner has to survive handling, travel or weather. Standard gloss vinyl is reflective, so specify a matte finish if the banner will face cameras.
Mesh is for outdoors. It is perforated so wind passes through instead of turning the banner into a sail.
| Material | Best for | Durability | Reflectance under flash |
| Fabric | Indoor galas, premieres, photography | Moderate | Very low |
| Matte vinyl | General events, repeat use, some outdoor | High | Low |
| Mesh | Outdoor and windy sites | Very high | Moderate |
If your event is indoors and photographed, fabric is usually worth the difference. If the banner is going outside, or will be rolled and shipped repeatedly, vinyl or mesh will last longer.
One thing worth saying plainly: banner material is the decision people most often leave to the printer, and it is the one that shows up hardest in the photographs. Tell us the lighting and we will tell you what to print on.
Stands, pole pockets and tension fabric frames
How the banner is held up is a separate decision from what it is printed on, and the venue often makes it for you.
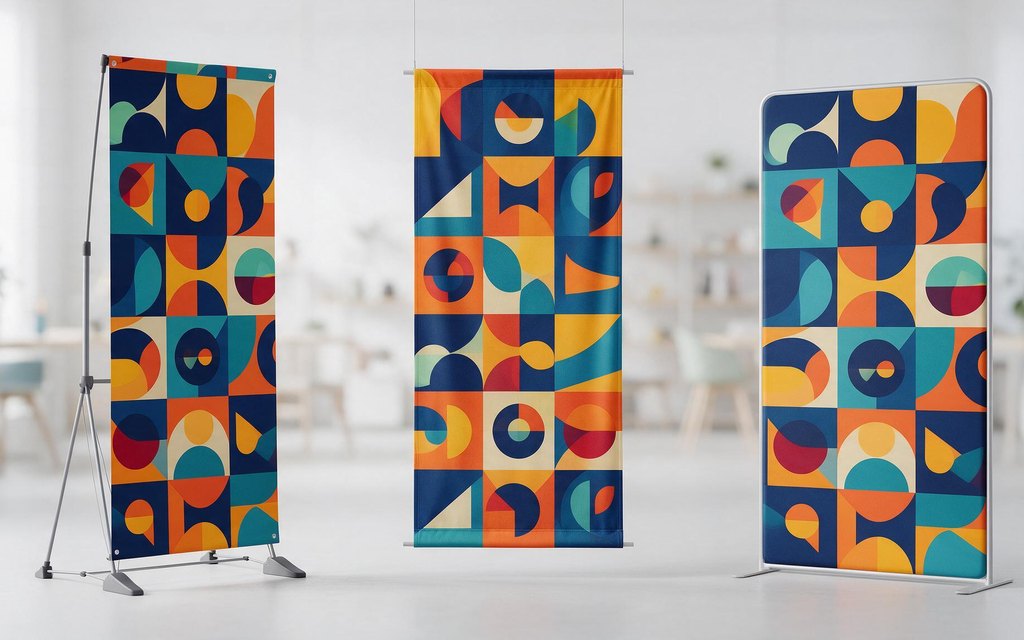
A freestanding step and repeat banner stand is the most common setup. It is portable, one person can assemble it, and it needs no fixings on the venue’s walls. This is the default for trade shows and anywhere you cannot drill, and it is what most people mean when they ask for a publicity backdrop they can move between rooms.
Pole pockets are sewn sleeves at the top and bottom that take a support rod. They give the cleanest look with no visible hardware, but they need a rigging point or a wall you are allowed to fix to.
Tension fabric frames stretch a fitted graphic over an aluminum frame. The result is wrinkle-free, which matters under bright light where creases cast visible shadows.
| Display type | Best for | Setup | Stability |
| Retractable or freestanding stand | Quick indoor setups, trade shows | Very easy | Moderate |
| Pole pocket | Rigged or wall mounted installs | Moderate | High |
| Tension fabric frame | Heavily photographed events | Moderate | High |
For outdoor use or high traffic areas, weigh the base. Sandbags or weighted feet are not optional once there is any wind or a crowd moving past.
Preparing your artwork
Getting the file right is what keeps the job on schedule.
- Send vector logos where you can. AI, EPS or PDF scale to any size without softening. If you only have a raster file, supply it at the largest resolution you have. Large format prints are viewed from a distance, so they do not need the same resolution as a business card, but a small web logo blown up to eight feet will look like it.
- Match the file to the finished dimensions you ordered, in the right orientation.
- Allow for bleed. Artwork needs to extend past the trim so no white edge appears after finishing.
- Keep logos out of the edges. Hems, grommets and pole pockets fold over the outer band of the graphic. Anything critical placed there gets lost.
- Ask for a template. Working on the printer’s layout for your exact size and finishing removes most of the back and forth.
What drives the cost
There is no single price for a step and repeat, because the quote is assembled from a handful of choices. These are the ones that move it:
- Finished size. Cost tracks square footage, so width and height drive the base figure.
- Material. Fabric, matte vinyl, mesh and tension fabric sit at different price points, and tension fabric includes a frame.
- Finishing. Hems, grommets and pole pockets each add labor.
- Hardware. A stand or frame is a separate line from the printed graphic.
- Artwork state. A print-ready file costs less to process than one that needs rebuilding or relaying out.
- Quantity and timing. Multiples lower the unit cost. Compressed timelines usually raise it.
- Delivery and install. Worth raising early, because venue access is where surprises live.
Reusable matters here too. If you will run the same branding across several events, a fabric or tension fabric backdrop that packs and travels well is normally the better spend than reprinting vinyl each time.
Before you order in New York City
National suppliers skip this part, and it is what actually derails event graphics in the five boroughs.
The venue decides your setup method. Many hotels, conference centers and event spaces prohibit anything fixed to their walls. That rules out pole pockets and makes a freestanding stand the only workable option. Just ask before you design, not after.
Ask whether flame certification is required. Venues frequently require event graphics to meet a recognized flame-resistance standard, and some ask for the certificate before load-in. This is a question for your venue and your printer at quoting time, because it can affect which material you can use.
Check the load-in. Freight elevator dimensions, loading dock hours and union labor rules all shape what you can bring in and when. A 10′ banner that ships in one tube may not fit the elevator a venue expects you to use.
Build in a proof round. Between artwork, approval, printing and finishing, the schedule is tighter than most people plan for. If your event date is fixed, work backwards from it and agree to the proof deadline in writing.
What to send us for a quote
Design Brand Print handles custom banner printing in NYC, and we produce step and repeat banners in vinyl, fabric and mesh, along with tension fabric backdrops and retractable banner stands, from our shop in Astoria, Queens. We have been doing this work for local businesses for over 25 years, and we are W/MBE and SBS certified.
To quote your job accurately, send us:
- The finished size you want, or the number of people who need to fit in one photo if you would rather we advise
- Your event date and venue
- Material preference, or the lighting conditions if you want a recommendation
- How you plan to stand it up, or whether you need a stand from us
- Your artwork, ideally as a vector file
- Quantity
If you are not sure on size or material, tell us the venue and what the photos are for and we will work it back from there. You will speak to a person who knows the job, not a form.
Common questions about step and repeat banners
What is a step and repeat, in one sentence?
A printed backdrop carrying your logo in a repeating grid, positioned so your brand lands in every photo taken in front of it.
Why is it called a step and repeat?
It describes the guests, not the printing. People step into position, pose, and the next person repeats. The logo is printed as a repeating grid so the brand stays visible whoever is standing there.
What size step and repeat do I need?
Base it on how many people pose at once. 8′ x 8′ works for two to four, 10′ x 8′ for three to five, and 12′ x 8′ for larger groups. Then check if your room has the depth for a photographer to step back far enough.
Which material avoids glare in photos?
Fabric, because it absorbs light rather than reflecting it. If you need vinyl for durability, specify a matte finish. Avoid gloss vinyl anywhere cameras will use flash.
Can I use a step and repeat outdoors?
Yes, with the right build. Mesh lets wind through and is the safest outdoor choice, with vinyl as an alternative. Weight the base either way.
How big should the logos be?
Large enough to stay readable when a photographer crops to a headshot. Space them evenly, keep the contrast high against your background color, and consider staggering rows so a full logo sits between heads.
How far ahead should I order?
Earlier than you think, because artwork approval and any venue paperwork usually take longer than the printing. Give us your event date and we will tell you what is achievable.